RADIUS Authentication (Windows Server)
1.0 Introduction
This article will walk you through enabling Active Directory authentication for SSL VPN users using RADIUS.
2.0 Requirements
- IoT-max™ Appliance
- Securolytics Firewall License
- Windows Server 2012 R2 or newer
3.0 Windows Server Configuration
3.1 Add Server Role
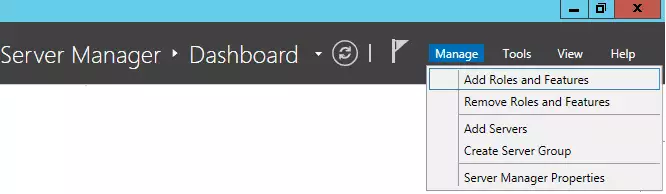
- Open the Server Manager application.
- Access the Manage menu and click on Add roles and features.
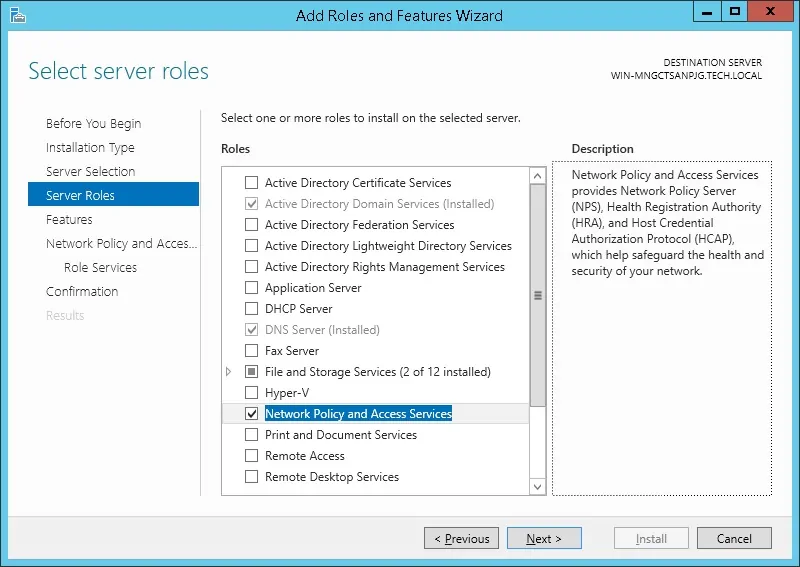
- Access the Server roles screen, select the Network Policy and Access Service option
- Click Next
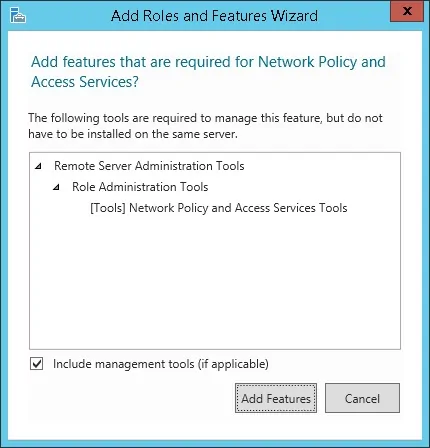
- On the following screen, click on the Add features button.
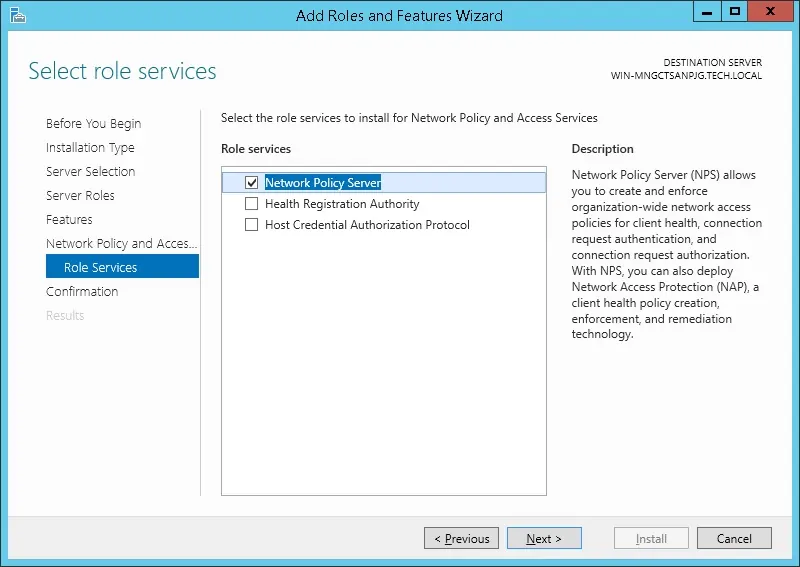
- On the Role service screen, click on the Next Button.
- On the next screen, click on the Install button.
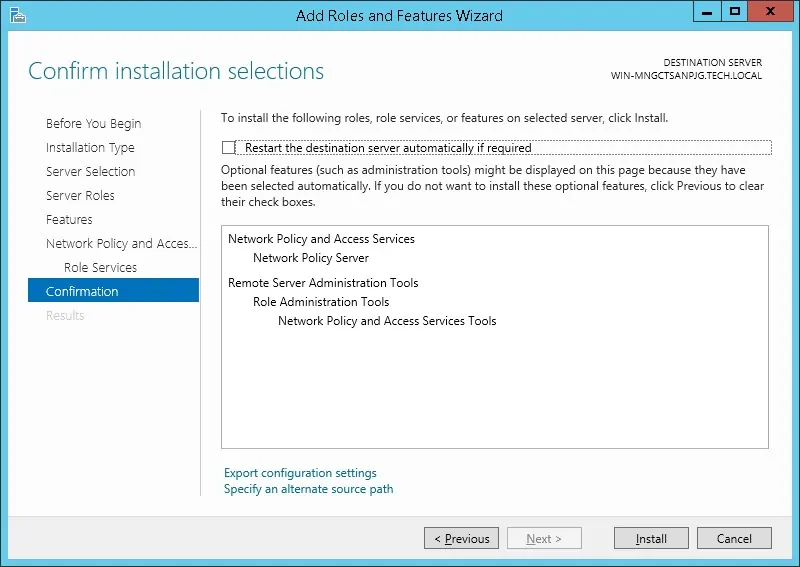
- This completes the RADIUS server installation on Windows Server.
3.2 Create an SSL VPN Users Group
- On the domain controller, open Active Directory Users and Computers
- Create a new group inside the Users container.

- In this example, we will create a new group called "SSL-VPN-Users".
- Users that are allowed to connect to the SSL VPN should be added to this group.
3.3 Add Client Devices
- On the RADIUS server, open Network Policy Server
- You need to authorize the RADIUS server in the Active Directory database.
- Right-click on NPS (LOCAL) and select the Register server in Active Directory option.

- On the confirmation screen, click on the OK button.
- Next, you need to configure Radius clients.
- Radius clients are devices that will be allowed to request authentication from the Radius server.
- Note: Do not confuse Radius clients with Radius users.
- Right click on Radius Clients folder and select the New option.
- You need to set the following configuration:
- Friendly name: [Hostname of SSL VPN Server]
- Address (IP or DNS): [IP address of of SSL VPN Server]
- Shared Secret: Manual / [Unique 24 Character String]
- The Shared secret will be used to authorize the SSL VPN appliance to use the RADIUS server.
- You have now completed the RADIUS client configuration.
3.4 Configure Network Policy
- Now, you need to create a Network Polity to allow authentication.
- Right click on the Network Policies folder and select the New option.
- Enter a name to the network policy and click on the Next button.

- Click on the Add condition button.
- We are going to allow members of the SSL-VPN-Users group to authenticate.

- Select the User group option and click on the Add button.

- Click on the Add Groups button and locate the SSL-VPN-Users group.
- Select the Access granted option and click on the Next button.
- This will allow members of the new SSL-VPN-Users group to authenticate on the Radius server.

- On the Authentication Methods screen, select the Unencrypted authentication (PAP, SPAP) option.

- If the following warning is presented, click on the No button.

- Select the Vendor Specific radius attribute option and click on the Add button

- Select the Custom vendor option.
- Select the Vendor-Specific Attribute and click on the Add button.

- Click on the Add button.

- Set the Vendor Code: 14988
- Select: Yes, it conforms.
- Click on the Configure Attribute button.

- Set the Vendor-assigned attribute number: 3
- Select the Attribute format: String
- Enter the Attribute Value: full

- The NPS Radius server will pass the vendor specific information back to the SSL VPN device.

- Verify the RADIUS server configuration summary and click on the Finish button.

The RADIUS server configuration is now complete.